Step by step on how to grow mushrooms ( button and Oyster)
Here is a step-by-step guide on how to grow button and oyster mushrooms:
Materials Needed:
Mushroom spores or spawn
Substrate (material for mushrooms to grow on)
Sterilized jars or bags
Plastic container or grow bag
Water
Humidifier
Spray bottle
Steps:
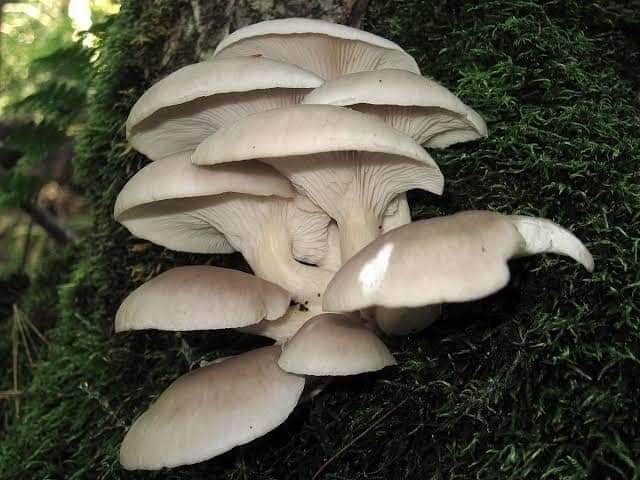
1. Choose your mushroom species. Button and oyster mushrooms are popular choices for beginners because they are easy to grow.
2. Acquire the mushroom spores or spawn. You can purchase them from online suppliers or local gardening centers.
3. Prepare the substrate. The substrate is the material that the mushrooms will grow on. For button mushrooms, use composted manure or a mixture of straw and manure. For oyster mushrooms, use a mixture of straw and sawdust.
4. Sterilize the jars or bags. Sterilize the jars or bags using a pressure cooker or boiling water to kill any unwanted bacteria or fungi.
5. Inoculate the jars or bags with spores or spawn. Inoculate the sterilized jars or bags with the mushroom spores or spawn. You can do this by injecting the spores into the substrate or by adding the spawn to the jars or bags.
6. Incubate the jars or bags. Keep the jars or bags in a warm, dark place for about 2-3 weeks to allow the mycelium (mushroom roots) to colonize the substrate.
7. Prepare the grow container. Fill a plastic container or grow bag with the substrate.
8. Add the colonized substrate to the grow container. Once the mycelium has fully colonized the substrate, transfer it to the grow container.
9. Maintain the temperature and humidity. Keep the grow container in a warm, humid place. Use a humidifier and spray bottle to maintain the humidity.
10. Wait for the mushrooms to grow. It can take anywhere from 1-4 weeks for the mushrooms to grow. Make sure to harvest them before the caps open up completely.
11. Harvest the mushrooms. Use a sharp knife to cut the mushrooms off at the base of the stem